By Solid Starts
Solid Starts is a team of pediatric feeding therapists, board-certified pediatricians, registered dietitians and a pediatric allergist whose mission is to help you introduce real food to your baby and raise a happy eater.
Your baby is ready for solid food. Now what?
Introducing solid food is a big, exciting step in your parenting journey. If knowing when and how to start feels overwhelming, rest assured. We’ve summed up the basics thanks to our licensed pediatric feeding team who happen to also be parents like you.
When to start solids?
It’s generally recommended to introduce solid food around 6 months of age, which is aligned with the AAP and most leading medical institutions in the world. Some babies will be ready a bit earlier and some a bit later. Rather than looking for the “right” age, look for signs that your baby is ready.
- The ability to sit with minimal support and maintain the head and neck upright.
- The ability to bring the hand to the mouth while sitting.
- Cognitive interest in feeding, mealtimes, and food.
These signals tell you that your baby is ready to more safely practice eating real food. Download the Solid Starts App for more information on readiness, including when to introduce solid food to premature babies.
★ Tip No matter how you choose to introduce solid food, it is important to receive training in infant first aid, choking rescue, and CPR before you get started. Download our free Infant Rescue Guide to learn more.
How to start solids?
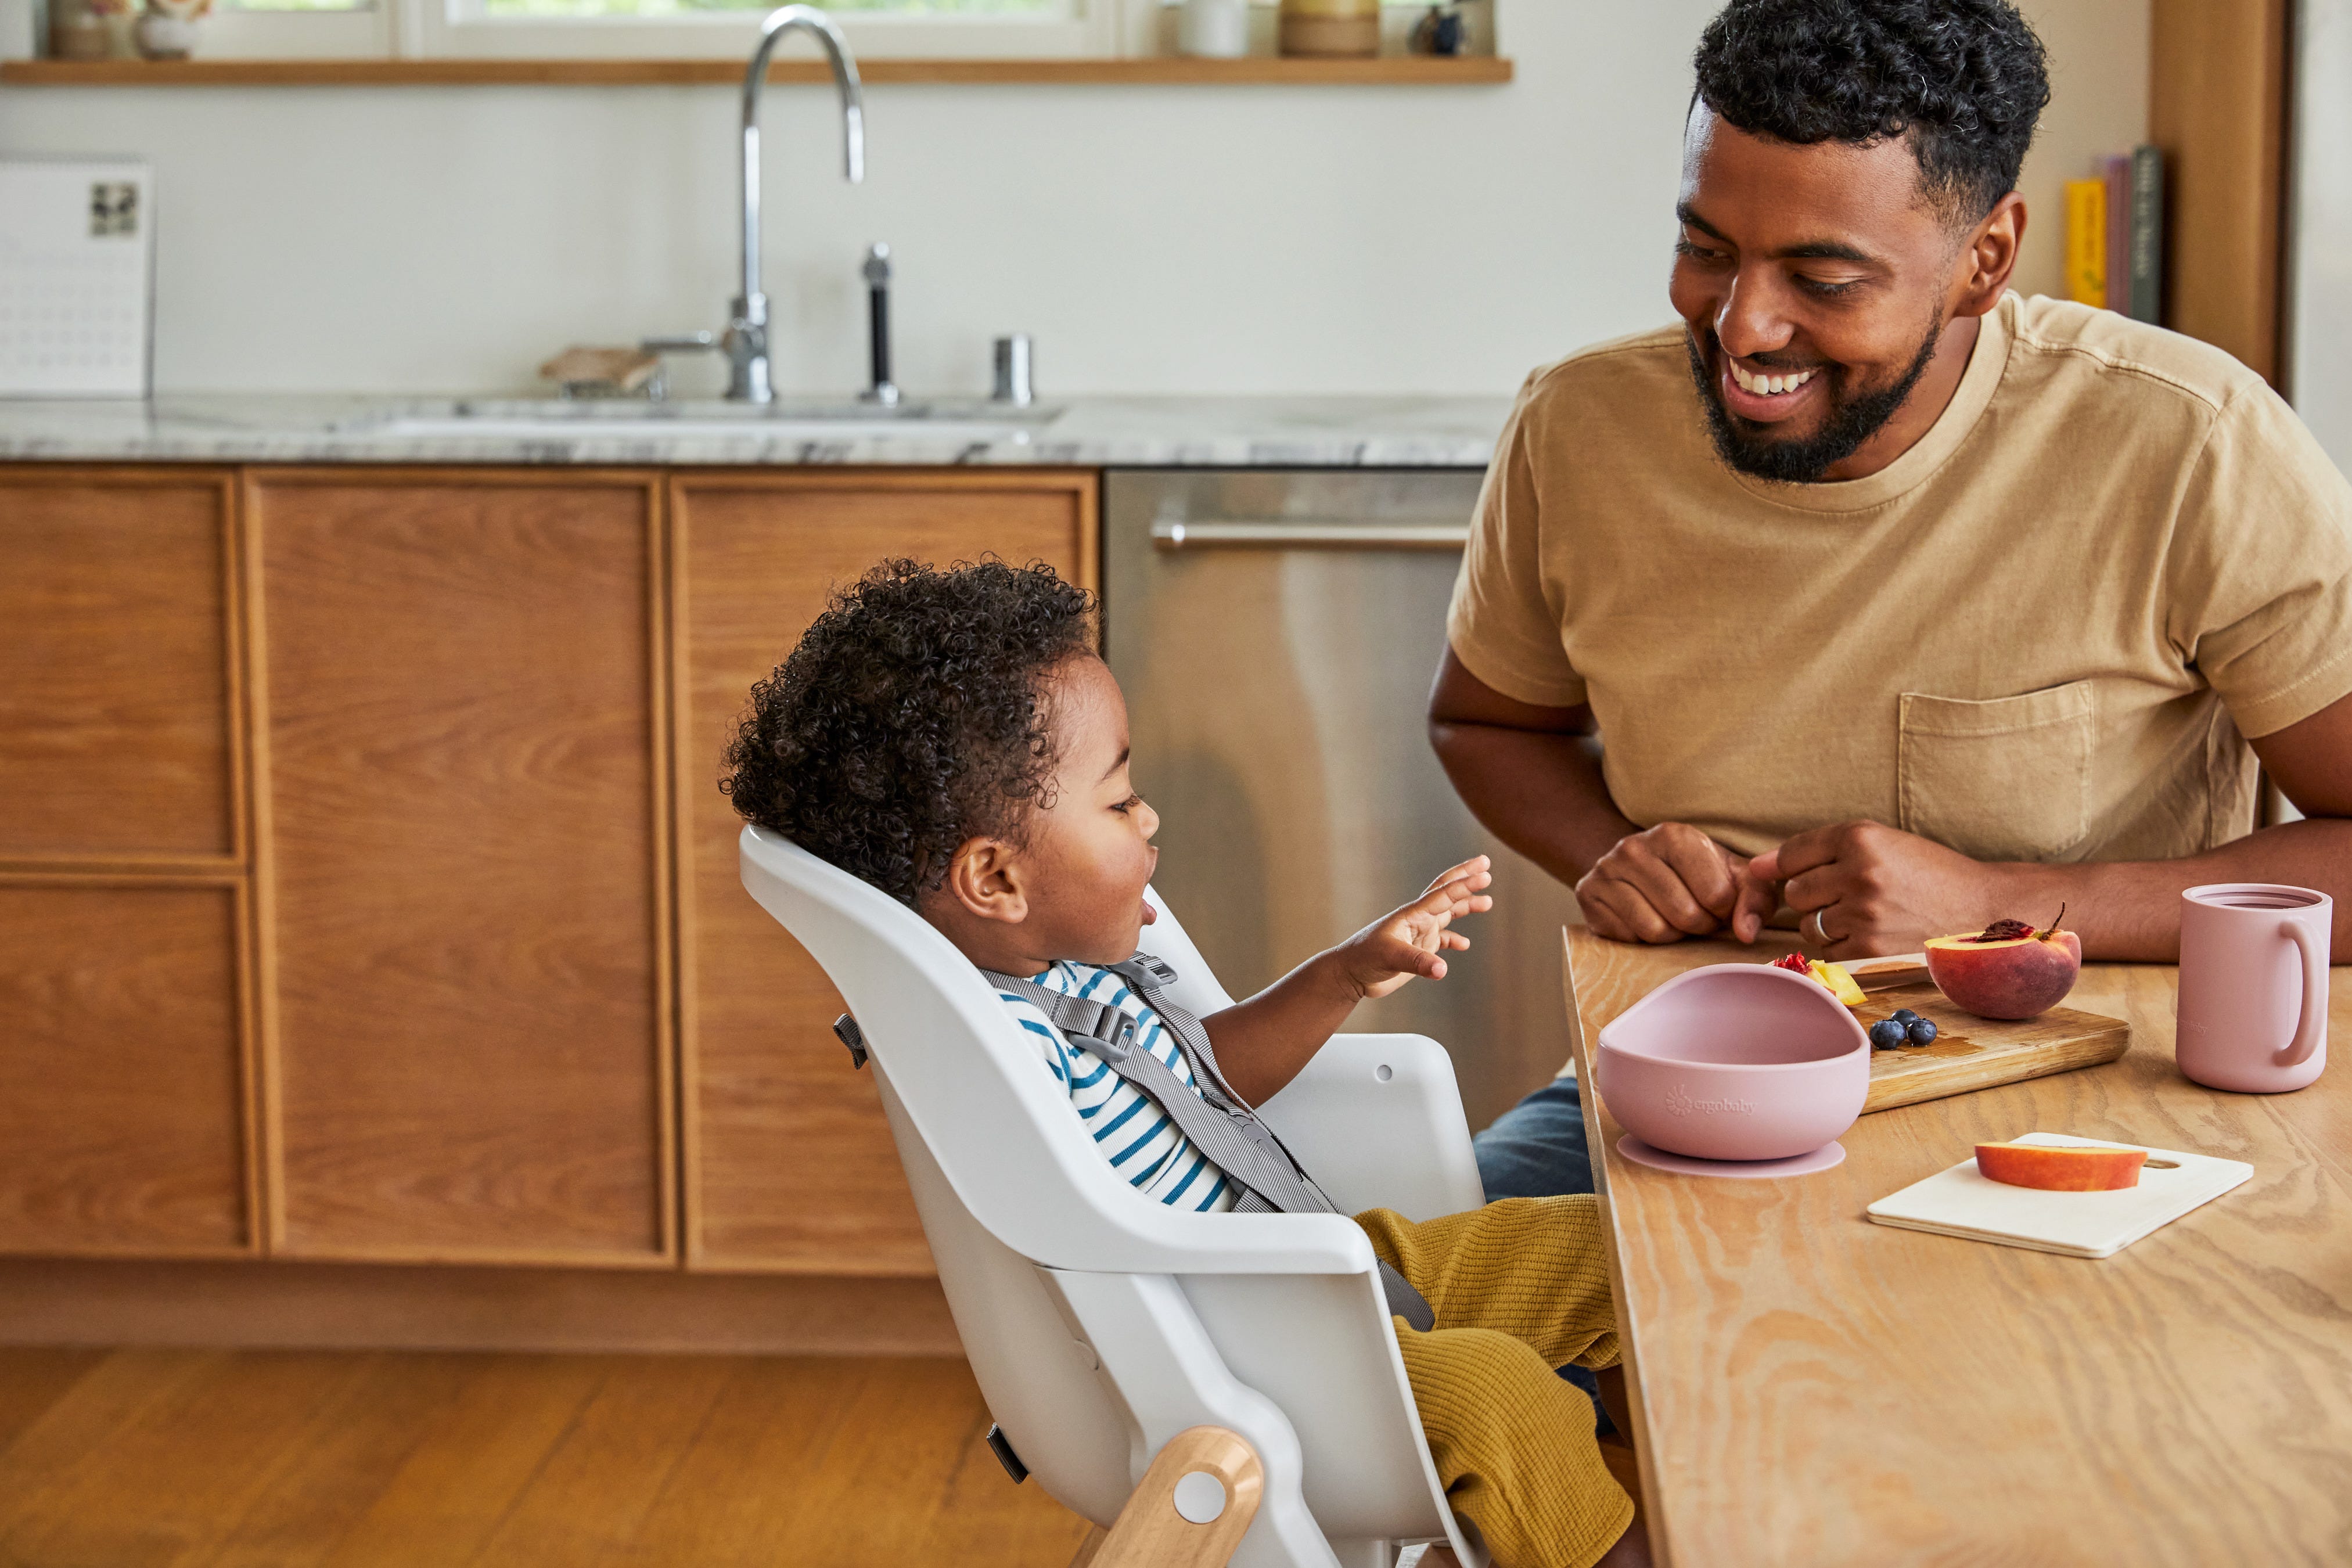
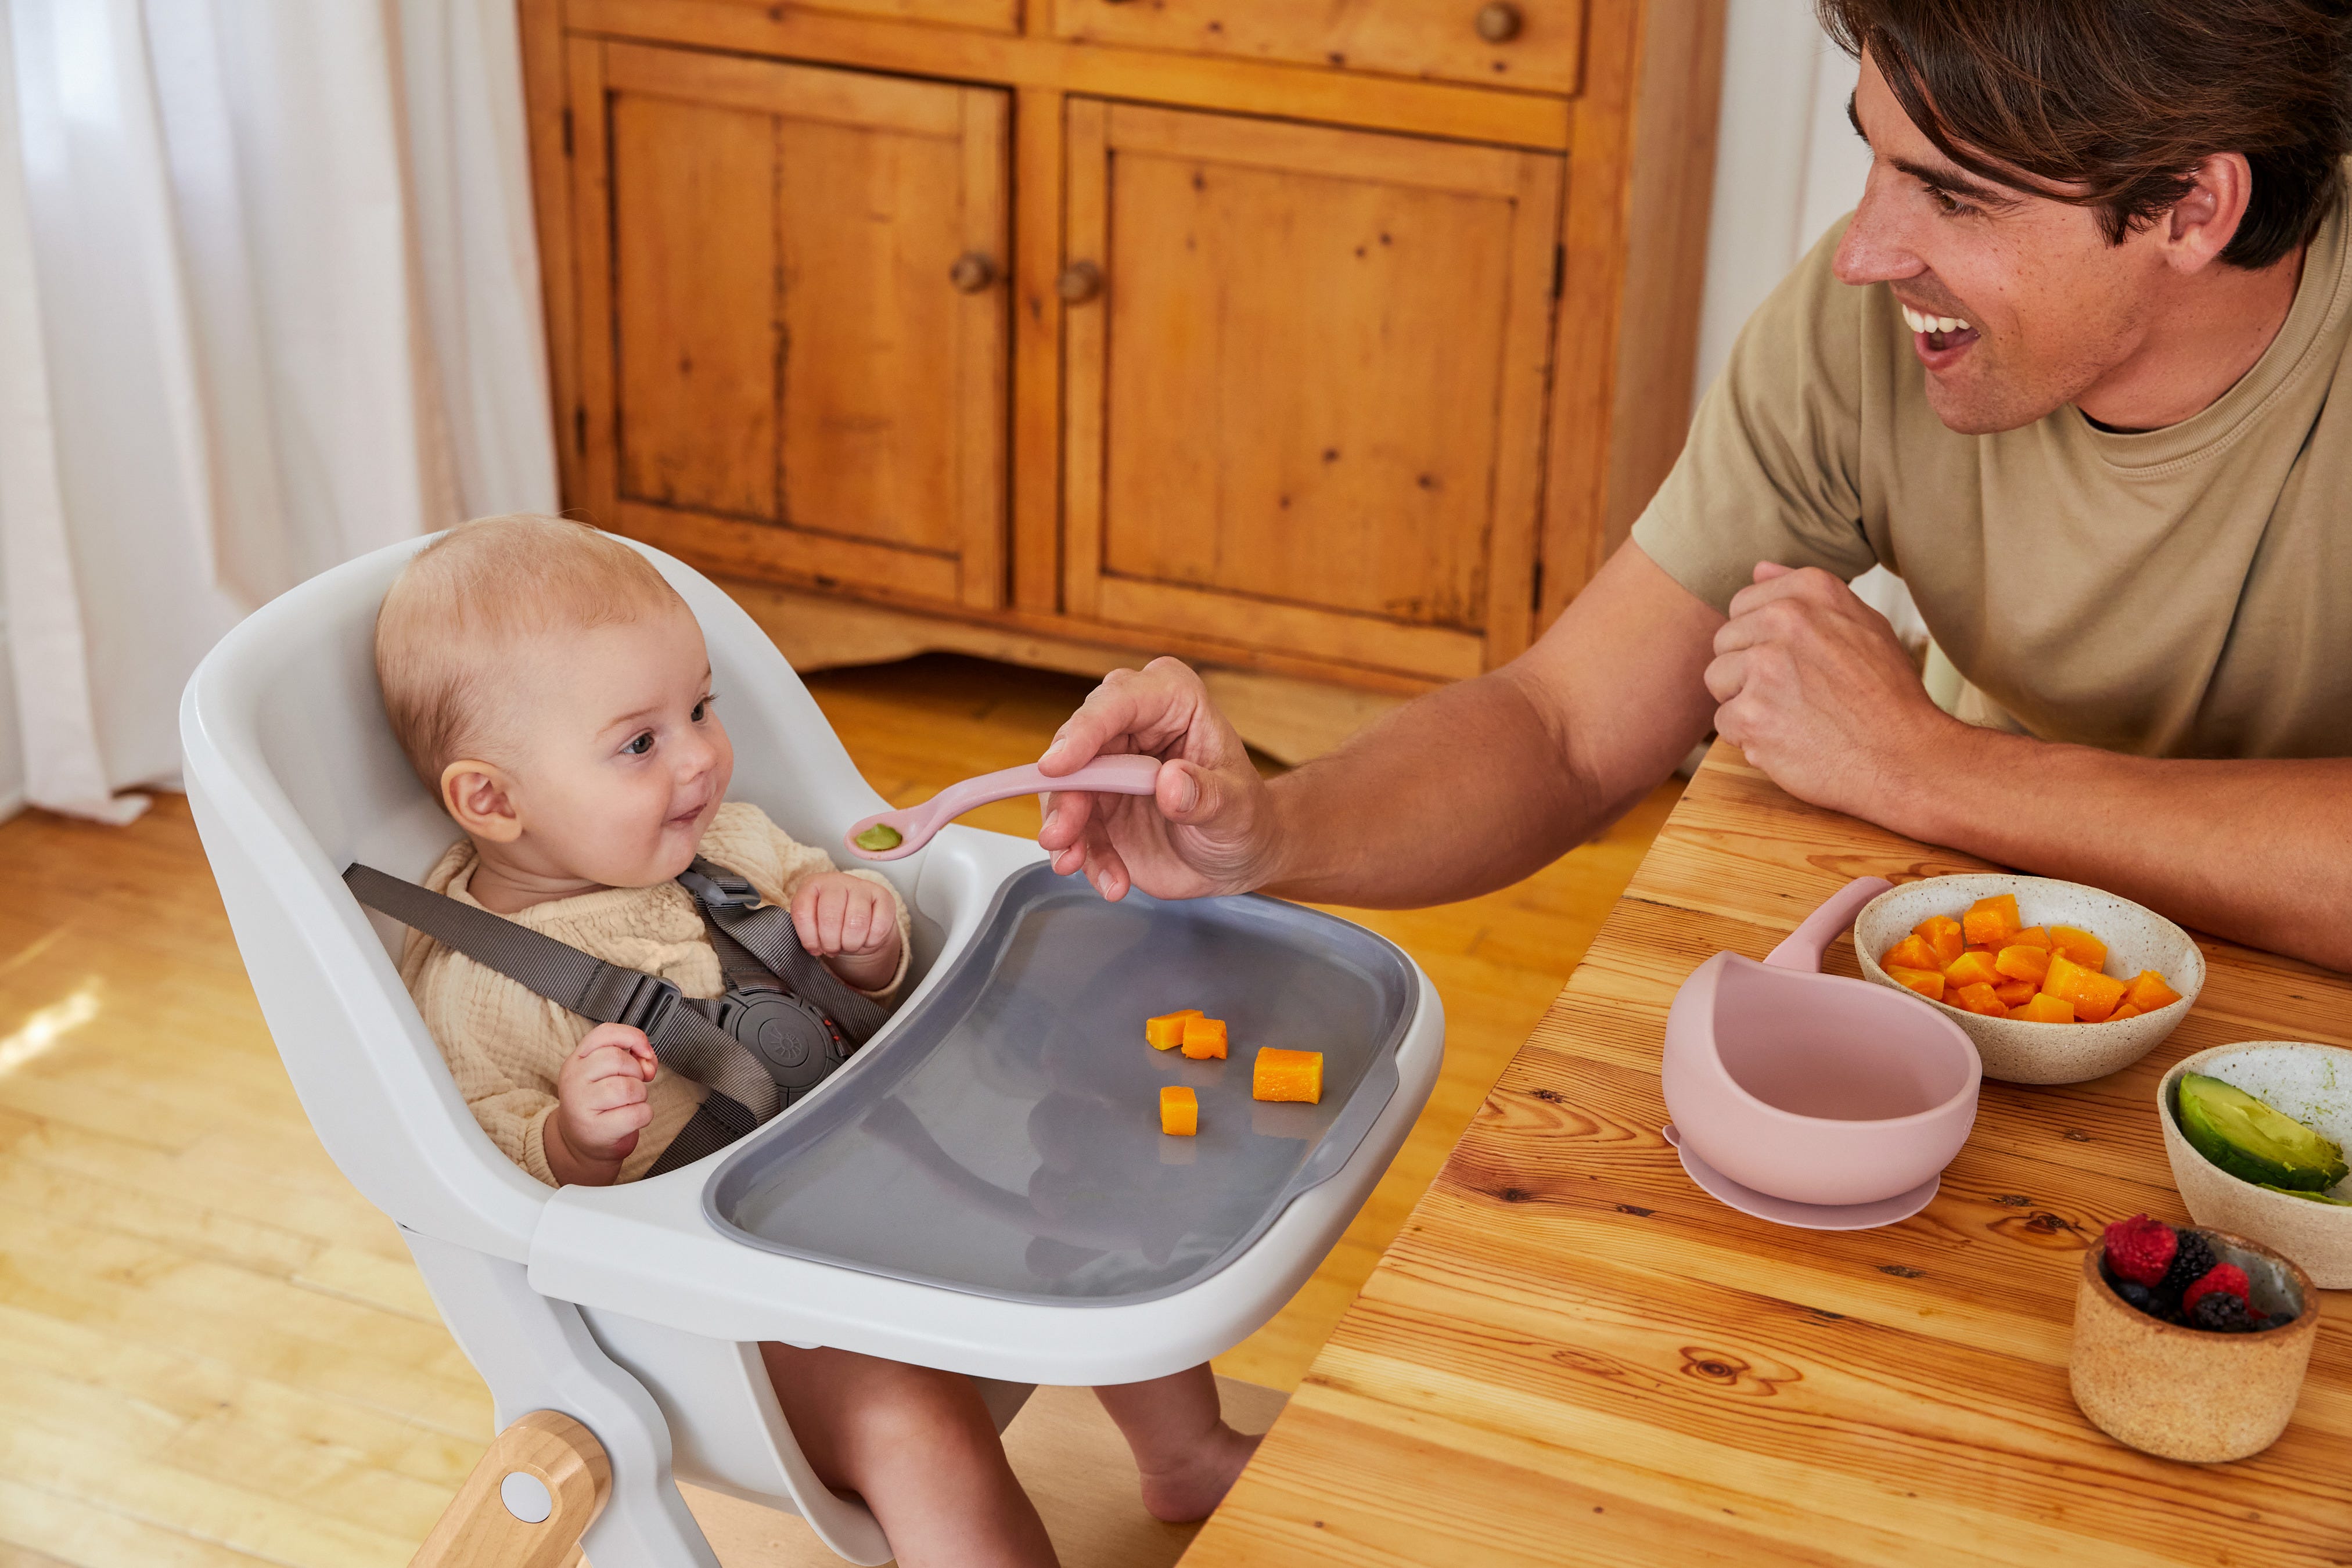
Your baby is showing all of the signs that they are developmentally ready to start solids. Now what? Some families choose to offer purees with spoons. Others start with finger food. No matter which approach you choose, the top advice from the pediatric pros at Solid Starts: let your baby control what goes in their mouth. When you allow your baby to explore solid food at their own pace, you strengthen your connection and build trust at the table. Do not force food into your baby’s mouth and try not to pressure your baby to eat. It’s totally normal for babies to not consume much (or any!) solid food at first. Simply seeing, touching, smelling, playing, and watching you eat are invaluable experiences at this stage.
★ Tip Offer solid food 30 to 45 minutes after a breast or bottle feed. This way, baby is happy, playful, and ready to explore solid food. Visit Baby Feeding Schedules on our website to learn more.
All About Baby Carriers for Nature Adventures
What are great first foods for your baby?
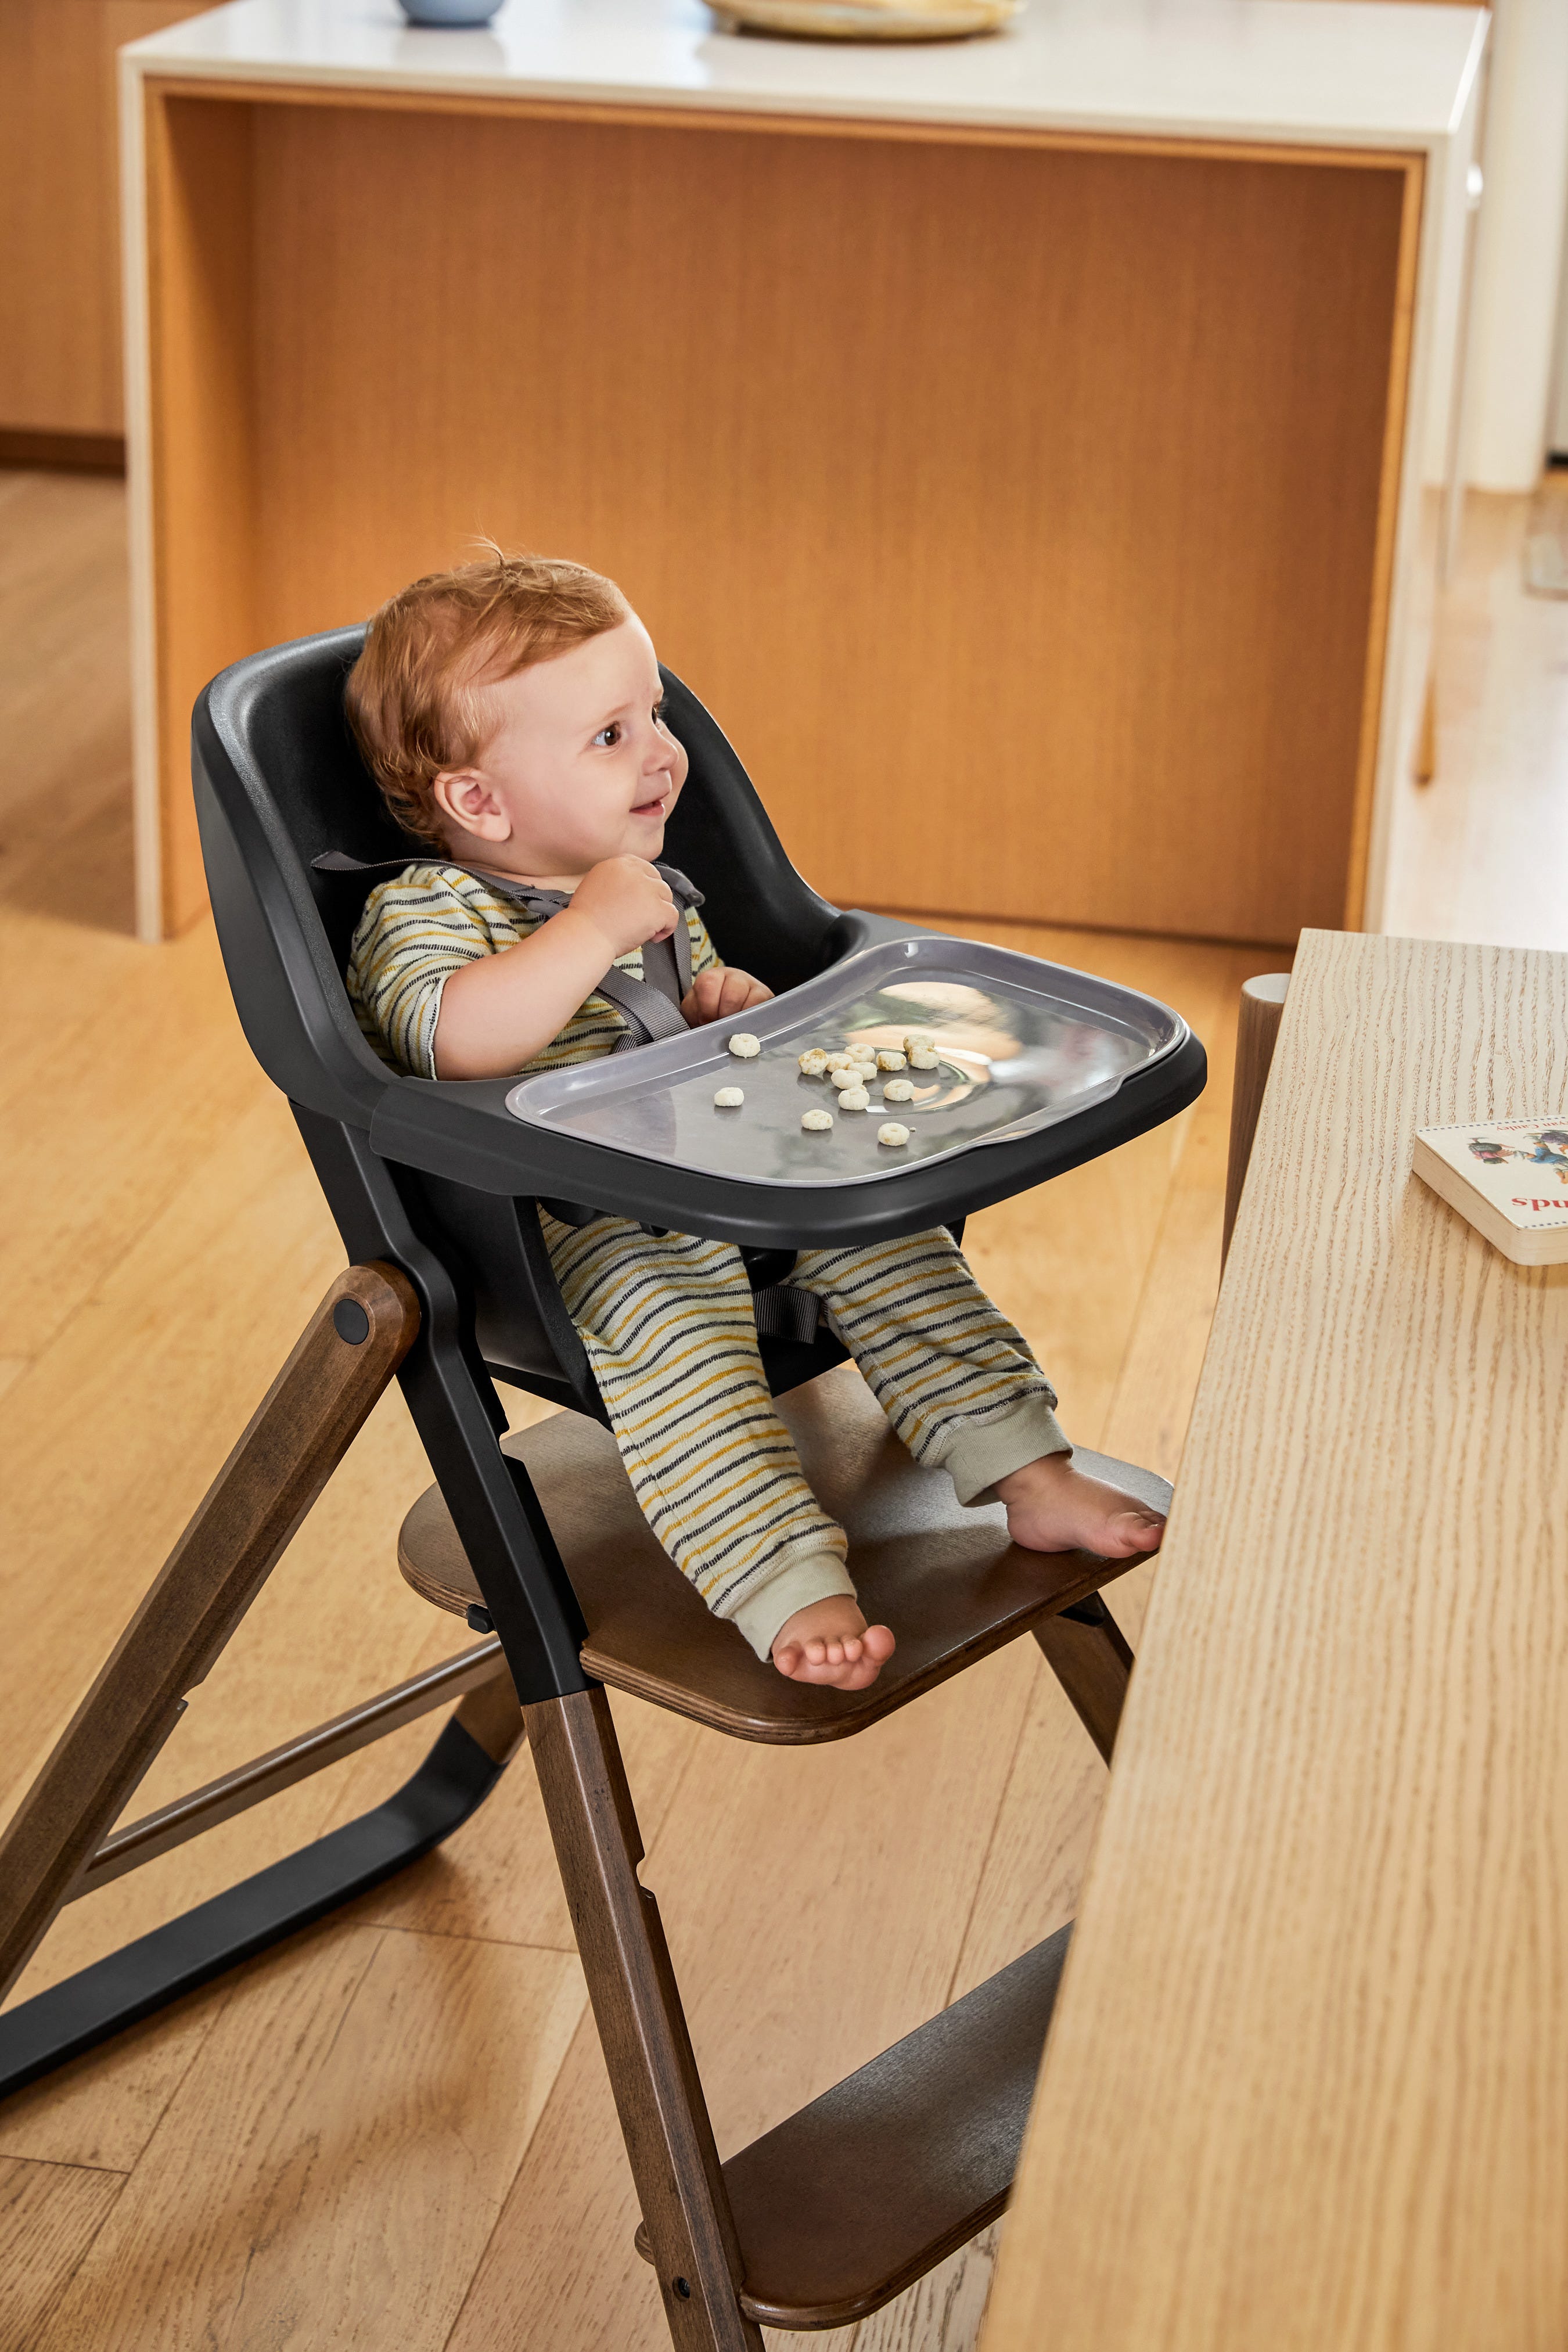
Good news: Just about any food can be safely prepared for babies who are ready to practice eating real food. Choose a food that you like to eat, offer a piece for your baby to explore, and eat together. Babies learn how to eat by watching you. Modeling how it is done teaches them what food is, how food works, and what happens at mealtime. As first foods, we love big pieces about the length and thickness of two adult fingers put together. This stick shape is easier for new eaters to grab, hold, and munch.
Bigger shapes can also be safer because they are more effective at triggering the chewing reflexes, especially when they are firmer and less likely to break in the mouth. We call these “food teethers” and they are our favorite first foods for teaching your baby how to chew. Think asparagus spear, chicken drumstick, corn on the cob, mango pit, or a whole green bean. When choosing foods for babies, take extreme care with foods that present a high risk of choking. Foods that are small, round, firm, and slippery are particularly risky. Look up any food in our First Foods® database for information on how to safely prepare and cut food for a child’s age and eating ability.
★ Tip Focus on skills at first. Give your baby plenty of opportunities to try and try again with real food, and try not to stress if not much (or any!) makes its way into the belly. It’s totally normal, and breast milk and formula are the main source of nutrition for now.

Factors to Consider:
- Baby’s Age and Weight: Ensure the carrier is appropriate for your baby’s size and weight. For example, Ergobaby’s Embrace Newborn Carrier is perfect for the fourth trimester where baby is small and you’re looking for an easy way to stay close. As they grow, you’ll want to upgrade to an all-position carrier that’s meant for growing babies.
- Parent’s Comfort and Ergonomics: Look for carriers with padded shoulder straps and lumbar support if you’re planning on longer outings.
- Ease of Use: Choose a carrier that is easy to put on and take off.
- Climate and Breathability: Opt for carriers made of breathable fabrics to keep you and your baby cool in hot weather.
When to introduce allergens to your baby?
We recommend introducing egg, peanut, and other common food allergens as soon as your baby is ready to start solids. The research is clear: introducing common allergens early and serving them often can reduce the risk of food allergies developing later in life. When introducing allergens, there are a few tips to keep in mind:
- Know the risk factors. Some babies are more at risk of food allergy, including those with severe eczema. Talk to a doctor before introducing food allergens at home.
- Understand the symptoms. Runny nose, sneezing, hives—these are just some of the signs of an allergic reaction. We’ve got a full briefing our our website, including photos.
- Start small. Just a scant amount of mashed hard-boiled egg or cow’s milk in porridge is enough at first. If there is no reaction, gradually increase the quantity over time.
- Offer in the morning. While an allergic reaction is unlikely, it may be easier to reach a doctor if you need help.
- Keep it in rotation. Once you’ve safely introduced a food allergen, keep that food in regular rotation at mealtime. Allergists typically recommend at least once a week, ideally twice.
When introducing allergens, there are different approaches to take: all at once over the course of a meal, a day-long introduction, or a slow-and-steady pace over a few days. Check out the Solid Starts App on iOS or Android for details, including allergen introduction schedules with specific quantities.
★ Tip Offer one food allergen at a time. It’s okay to pair with a food that your baby has already tried, but offer just one allergen at a time until an allergy is ruled out. This way, you’ll know which food was responsible if there is a reaction.
A final word: prepare yourself for gagging.
Gagging is common and expected as your baby learns how to eat, but it can be incredibly scary to see when it happens. To help put your mind at ease, we encourage you to download our free Infant Rescue Guide, so you can see what gagging looks like. The guide also explains the difference between gagging and choking. Gagging is not the same as choking, and gagging does not lead to choking. It may sound counterintuitive, but gagging helps your baby learn how to eat by teaching what a “too big” bite feels like in the mouth. Bottom line: Your baby’s body is built to protect itself with reflexes (like gagging) that are designed to reduce the risk of choking.
Exploring Nature with a Baby Carrier
Ideal Spots for a Nature Walk with Baby
- Parks and Gardens: Great for leisurely walks and picnics.
- Nature Trails and Forests: Perfect for more adventurous outings.
- Beaches and Lakesides: Wonderful for enjoying the water and sand, with the right carrier.
Activity Ideas
- Hiking: Enjoy a scenic hike with a hiking baby carrier that offers support and storage.
- Bird Watching: Use your carrier to keep your baby close while you explore and observe wildlife.
- Picnics: A carrier can free up your hands, making it easier to carry picnic supplies.

Advantages of Using Strollers for Nature Adventures
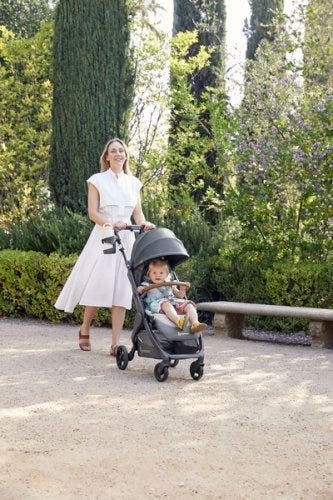
While baby carriers are fantastic for mobility and closeness, depending on the adventure of choice you might want to be a stroller along too.
There are a LOT of baby stroller options on the market. So we understand how confusing it can be to choose the one that’s right for your family. Not only are there a variety of brands, but a variety of strollers that serve different purposes.
There are a few types of strollers on the market:
- Full-sized stroller: This is typically the stroller parents thing of buying for all its versatility.
- Lightweight or umbrella stroller:These compact strollers are perfect for on-the-go adventures.
- Jogging stroller: Designed for parents who want to combine fitness with outdoor adventures.
- Double stroller: Designed for parents with multiple kids, especially twins.
- Car seat carrier: These strollers connect to a specific car seat. We don't typically recommend these as they can be unsafe for baby and uncomfortable for parents who are pushing.
Learn more about the types of strollers and which one would be best for you.
Benefits of Bringing a Stroller
- Storage Space for Gear: Ample room for carrying all your essentials like a diaper bag, beach toys and more.
- Shade and Weather Protection: Built-in canopies to shield your baby from the sun when they are lounging.
- Options: If you have more than one kid, you can stroll with one and carry the other. Or, if you’re getting warm or your little one is getting fussy, you can switch up their position from stroller to carrier or vice versa.
Safety Tips for Strollers
- Ensure your stroller is in good working condition. Make sure buckles are still buckling and that there are no rips or holes that could compromise your baby’s safety.
- Use sunshades or bug nets to protect your little one’s skin.
- Securing the baby properly: always buckle up your baby for safety even if you think they are old enough to go without the buckle.
Combining Baby Carriers and Strollers
For the ultimate flexibility, consider using both a baby carrier and a stroller on your outings.
Combining both options allows you to adapt to different situations. Use the carrier for more rugged trails and switch to the stroller for smoother paths or when your baby needs a nap.
Transition Tips
- Smooth Transitions: Plan stops where you can easily switch from carrier to stroller.
- Pack Light: Only bring essentials to make transitions easier.
Tips for a Successful Adventure
Planning Ahead
- Route Planning: Choose baby-friendly trails and parks. Check local mom groups or outdoor groups and get recommendations for the best outings for kids.
- Check Weather Conditions: Avoid extreme heat or unpredictable weather. Even with our most breathable carriers, when it’s hot, it’s hot. And having two bodies against each other in the heat will be naturally hot and sticky already.
- Packing Checklist: Include diapers, snacks, water, sunscreen, and a first-aid kit. These all-position carriers have storage pockets where you can fit some of the items easily!
- Stay Hydrated and Nourished: Pack healthy snacks to keep energy levels up and bring plenty of water for both you and baby.

Summer adventures with your baby are a wonderful way to create lasting memories and enjoy the beauty of nature together. From baby carriers to strollers, Ergobaby products are designed to provide comfort and ease for both you and your little one. So, gear up, get outside, and explore the world with your baby by your side.
Ready to embark on your own summer adventures? Check out Ergobaby’s range of baby carriers and strollers to find the perfect match for your family’s needs. Visit our website today and start planning your next outdoor excursion!